Growing Turnips
Turnips are versatile root vegetables that are not only delicious but also easy to grow in your own garden. With their crisp texture and earthy flavour, turnips add a delightful touch to various dishes. Whether you have a large backyard or a small balcony, you can enjoy the satisfaction of harvesting homegrown turnips. In this article, we will provide a step-by-step guide on how to grow turnips in Australia, using the metric system and Australian English. Get ready to embark on your turnip-growing journey!
Selecting the Right Turnip Variety
Choosing the right turnip variety is crucial for a successful harvest. Here are a few popular varieties suitable for Australian climates:
1. Tokyo Cross:
This fast-growing, small-sized turnip is ideal for growing in containers or small spaces. It has a mild and sweet flavour.
2. Purple Top White Globe:
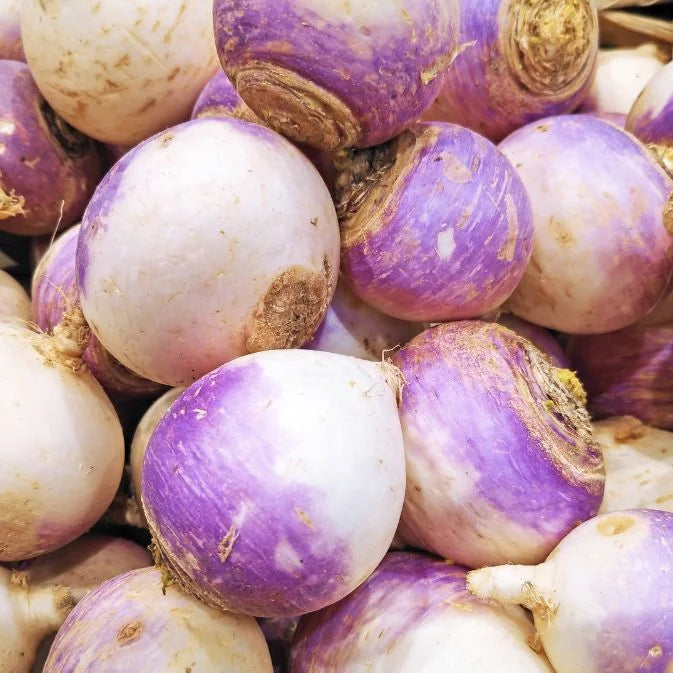
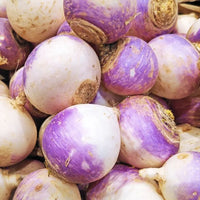
Known for its classic appearance, this variety produces large, round turnips with a purple crown and a white base. It has a slightly spicy flavour.
3. Golden Globe:
As the name suggests, this variety yields round turnips with a bright golden skin. It has a mild and sweet flavour.
Preparing the Soil
1. Soil Type:
Turnips thrive in well-draining soil with a pH level between 6.0 and 7.5. Ensure that the soil is loose and friable, allowing the roots to penetrate easily.
2. Soil Enrichment:
Before planting, enrich the soil with organic matter, such as compost or well-rotted manure. This helps improve soil fertility, moisture retention, and nutrient availability.
3. Bed Preparation:
Create raised beds or garden rows to facilitate drainage and prevent waterlogging. Clear the area of any weeds or debris, and loosen the soil to a depth of at least 15-20 centimetres.
Sowing Turnip Seeds
1. Planting Time:
In most parts of Australia, turnips can be grown throughout the year, except in extreme heat or cold. The best times to sow turnip seeds are during spring and autumn.
2. Spacing:
Sow the seeds approximately 2 centimetres deep and space them 10-15 centimetres apart. Leave a gap of 25-30 centimetres between rows.
3. Thinning:
Once the turnip seedlings emerge and grow to about 5 centimetres in height, thin them out to maintain proper spacing. Remove weaker seedlings, allowing the remaining plants to grow vigorously.
Watering and Fertilising
1. Watering:
Keep the soil consistently moist, but avoid overwatering to prevent rotting. Water deeply once or twice a week, depending on weather conditions. Ensure that the water reaches the root zone.
2. Mulching:
Apply a layer of organic mulch, such as straw or wood chips, around the turnip plants to conserve moisture and suppress weed growth. Mulching also helps maintain a more consistent soil temperature.
3. Fertilising:
Turnips benefit from regular fertilisation. Apply a balanced, organic vegetable fertiliser every four to six weeks, following the manufacturer’s instructions. This provides essential nutrients for healthy growth.
Managing Pests and Diseases
Common Pests:
Turnips may be susceptible to pests such as aphids, flea beetles, and cabbage root maggots. Monitor your plants regularly and use organic pest control methods, such as insecticidal soaps or neem oil, if necessary.
Disease Prevention:
To prevent diseases like clubroot or powdery mildew, practice crop rotation, avoid overcrowding, and maintain proper air circulation around the plants. Remove and dispose of any infected plants to prevent the spread of disease.
Harvesting Turnips
When to Harvest
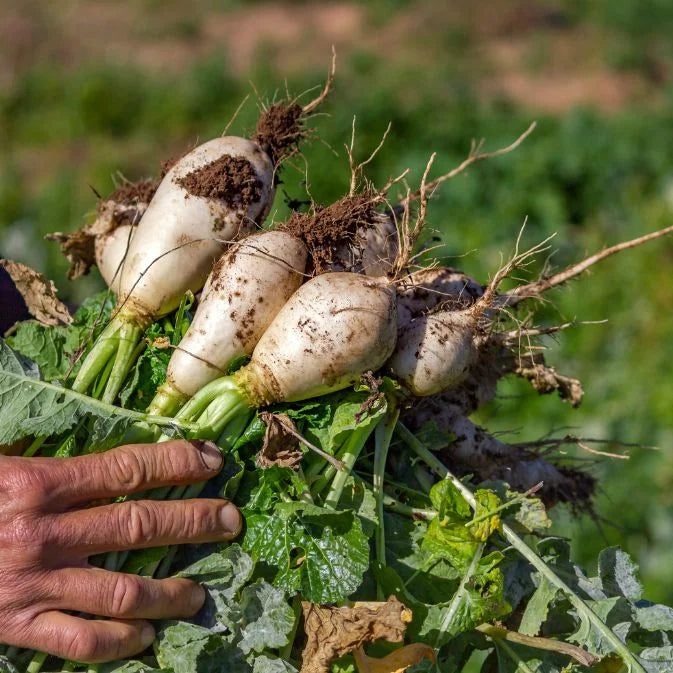
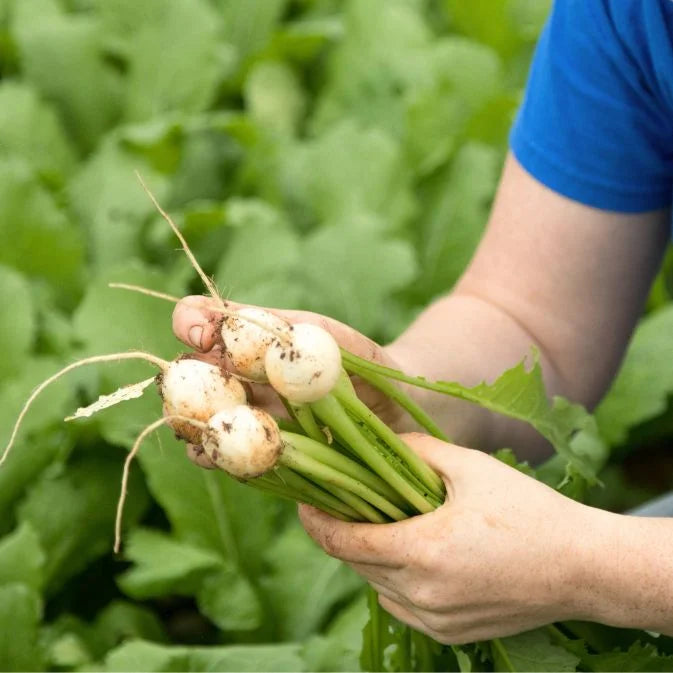
Harvest turnips when they reach the desired size. Baby turnips can be harvested when they are about 5 centimetres in diameter, while larger turnips can be left to grow up to 10-15 centimetres in diameter.
Harvesting Technique:
Gently loosen the soil around the turnip with a garden fork or trowel. Grasp the turnip at the base and carefully lift it out of the ground. Trim off the greens, leaving about 2 centimetres of the stem attached.
Storing Turnips:
Remove any excess soil from the harvested turnips and store them in a cool, dark place. You can store them in a perforated plastic bag in the refrigerator for up to a few weeks.
Additional Tips for Growing Turnips
Successive Planting:
To ensure a continuous harvest, consider sowing turnip seeds every few weeks. This staggered planting will provide a steady supply of fresh turnips throughout the growing season.
Companion Planting:
Planting turnips alongside companion plants such as radishes, carrots, or onions can help deter pests and optimise space utilisation.
Crop Rotation:
To prevent the buildup of pests and diseases, avoid planting turnips in the same spot year after year. Rotate your crops, ideally on a three-year cycle.
Save Seeds:
If you want to save turnip seeds for future plantings, allow some of the turnip plants to bolt and produce flowers. Collect the dry seed pods, remove the seeds, and store them in a cool, dry place.
Conclusion
Growing turnips in your own garden can be a rewarding and enjoyable experience. By following the steps outlined in this comprehensive guide, you can successfully cultivate turnips in Australia. From selecting the right variety and preparing the soil to sowing the seeds, providing adequate water and nutrients, and managing pests and diseases, each step is crucial for a bountiful harvest. Remember to adjust your planting and care practices based on your specific region and climate. Embrace the joy of harvesting fresh turnips and savour their delicious flavours in various culinary creations. Happy turnip gardening!
