Introduction
Parsley, with its vibrant green leaves and distinct flavour, is not just a garnish but a versatile herb that can elevate a variety of dishes. Growing parsley at home allows you to have a constant supply of this nutritious herb right at your fingertips. In this in-depth guide, we’ll explore the ins and outs of growing parsley, from selecting the right variety to harvesting and preserving your bountiful harvest.
Selecting the Right Parsley Variety
Parsley comes in two main varieties—curly leaf and flat-leaf (also known as Italian parsley). Each has its unique characteristics:
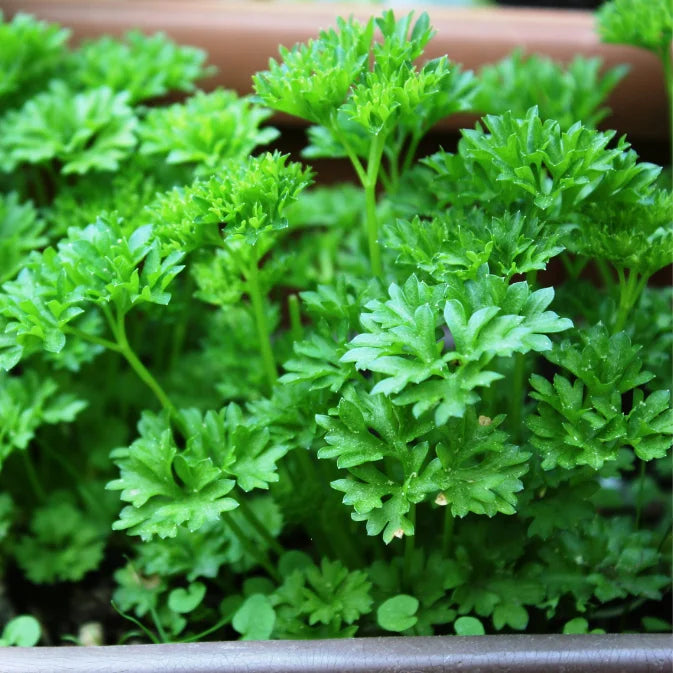
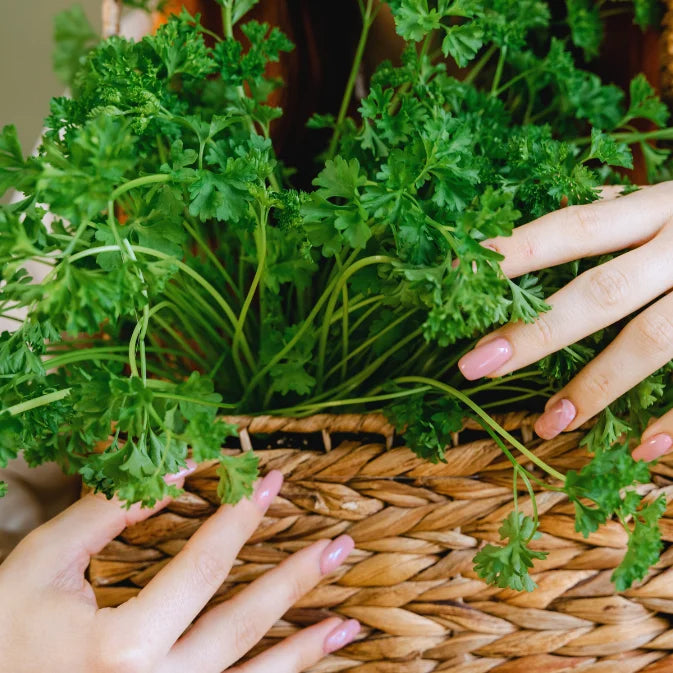
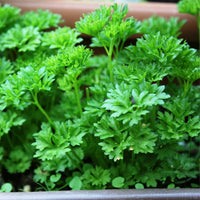
- Curly Leaf Parsley (Petroselinum crispum var. crispum): Recognised by its tightly curled leaves, this variety is often used as a decorative garnish. It has a milder flavour than flat-leaf parsley.
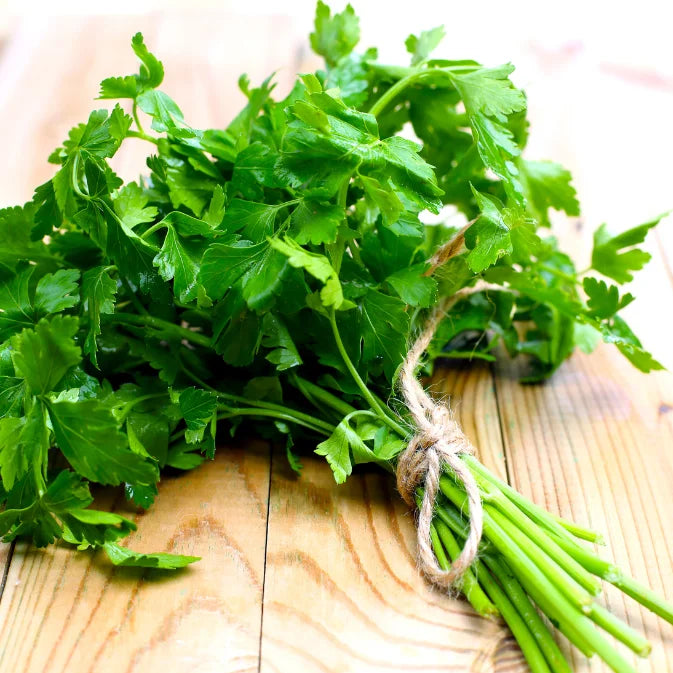
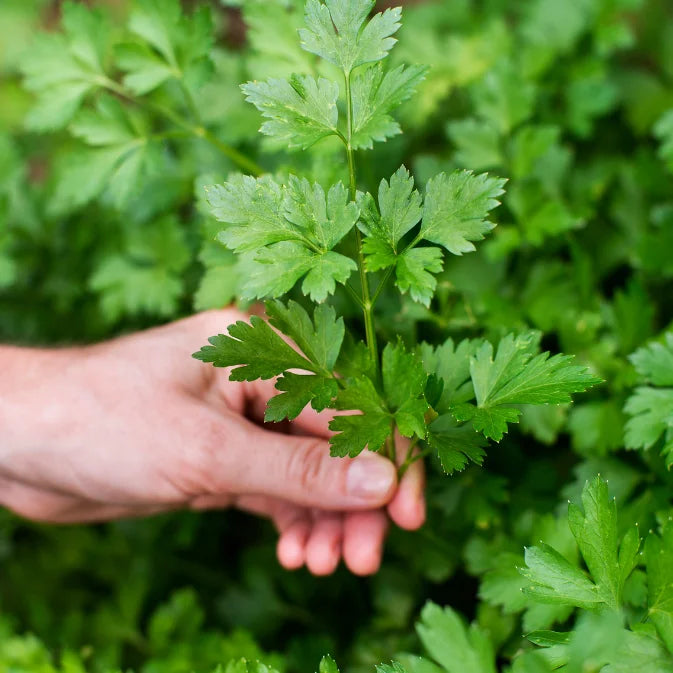
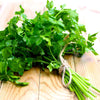
- Flat-Leaf Parsley (Petroselinum crispum var. neapolitanum): Also known as Italian parsley, this variety has flat, serrated leaves and a stronger flavour. It is favoured for its culinary versatility.
Ideal Conditions for Growing Parsley
Creating the right environment is essential for parsley to thrive and produce lush foliage.
1. Sunlight:
- Parsley prefers partial shade to full sunlight. Plant it in a location that receives at least 4-6 hours of sunlight per day.
2. Soil:
- Use well-draining soil enriched with organic matter. Parsley is not too fussy about soil types but thrives in loamy soil.
3. Watering:
- Keep the soil consistently moist but not waterlogged. Water the plants when the top inch of soil feels dry.
Growing Parsley: Seeds vs. Seedlings
Growing Parsley from Seeds:
1. Germination:
- Parsley seeds can be slow to germinate, so it’s advisable to soak them in warm water for 24 hours before planting.
- Sow the seeds directly into the garden or containers in early spring, about 1/4 inch deep in well-draining soil.
2. Thinning Seedlings:
- Once the seedlings are a couple of inches tall, thin them to ensure proper spacing. Leave the strongest, healthiest plants, spacing them 6-8 inches apart.
Growing Parsley from Seedlings:
1. Nursery Purchase:
- Purchase young parsley plants from a reputable nursery or garden center. Look for plants with healthy, green leaves and no signs of disease or pests.
2. Transplanting:
- Transplant the seedlings into the garden or larger containers, ensuring they are at the same depth as they were in their nursery containers.
Growing Parsley in Pots
Growing parsley in pots is a practical and space-efficient way to cultivate this versatile herb, especially if you have limited outdoor space or unfavourable growing conditions. Here’s a step-by-step guide on how to grow parsley in pots:
MATERIALS NEEDED:
1. Pot: Choose a pot with drainage holes to prevent waterlogging. A pot with a diameter of at least 30cm is suitable for growing parsley.
2. Soil: Use a well-draining potting mix. You can enhance drainage by adding perlite or sand to the soil.
3. Parsley Seeds or Seedlings: You can start from seeds or purchase young parsley plants from a nursery.
4. Sunlight: Parsley prefers partial shade to full sunlight. Place the pot in a location that receives at least 4-6 hours of sunlight per day.
5. Watering Can: Keep the soil consistently moist but not waterlogged. Water when the top inch of soil feels dry.
STEPS:
1. Planting Seeds or Seedlings:
– If starting from seeds, sow them on the soil surface and cover lightly with a thin layer of soil. If using seedlings, plant them at the same depth as they were in their nursery containers.
2. Watering:
– Water the soil thoroughly after planting. Keep the soil consistently moist, but avoid overwatering to prevent root rot. Water when the top inch of soil feels dry.
3. Sunlight:
– Place the pot in a location that receives 4-6 hours of sunlight per day. Parsley can tolerate partial shade but benefits from some direct sunlight.
4. Fertilisation:
– Use a balanced, all-purpose fertiliser every 4-6 weeks during the growing season. Follow the package instructions for application rates.
5. Pruning:
– Pinch back the outer leaves regularly to encourage bushier growth. Use clean scissors or pruning shears to snip the leaves just above a set of lower leaves.
6. Harvesting:
– Start harvesting parsley leaves when the plants are at least 15 cm tall. Harvest from the outer portions, leaving the center leaves to encourage continuous growth.
7. Watering and Moisture:
– Keep the soil consistently moist. Water when the top inch of soil feels dry. Container plants may require more frequent watering than those planted in the ground.
8. Protection from Extreme Weather:
– Potted plants are more susceptible to temperature fluctuations. During extreme weather conditions, such as frost, move the pot to a sheltered area or indoors to protect the plant.
9. Companion Planting:
– Consider companion planting with other herbs or vegetables in the same pot. Parsley pairs well with tomatoes, basil, and chives, among others.
10. Overwintering (if applicable):
– Parsley is a biennial, but it’s often treated as an annual. In colder climates, consider moving the pot indoors during winter or protecting the plant from frost.
TIPS:
– Rotate the Pot: Rotate the pot occasionally to ensure even exposure to light on all sides of the plant.
– Avoid Overwatering: Parsley prefers slightly moist conditions. Ensure proper drainage to prevent waterlogging.
– Harvest Regularly: Harvesting encourages the plant to produce more leaves. Use fresh parsley in your culinary creations or dry it for later use.
By following these steps, you can successfully grow parsley in pots, providing a convenient and fresh supply of this flavourful herb for your culinary needs.
Growing Parsley from Cuttings
While parsley is typically grown from seeds or seedlings, it is possible to propagate it from cuttings, though it may not be as straightforward as with some other herbs. Parsley tends to develop a taproot, making it less prone to propagation through cuttings. However, if you’re up for a bit of experimentation, here’s a basic guide on how to try growing parsley from cuttings:
MATERIALS NEEDED:
1. Established Parsley Plant: Choose a healthy and established parsley plant from which to take cuttings.
2. Clean Scissors or Pruning Shears: Use clean and sharp scissors or pruning shears to take cuttings.
3. Rooting Hormone (Optional): Rooting hormone can encourage the development of roots on the cuttings but is not strictly necessary for parsley.
4. Small Pots or Containers: Prepare small pots or containers with well-draining potting mix.
5. Plastic Bag or Plastic Wrap (Optional): To create a humid environment for the cuttings.
STEPS:
1. Selecting the Parent Plant:
– Choose a healthy and vigorous parsley plant. Ensure that it is well-established with a good amount of foliage.
2. Taking Cuttings:
– Use clean scissors or pruning shears to cut a section of parsley stems, including several inches of growth with leaves attached. Cut just below a leaf node (the point where a leaf attaches to the stem).
3. Removing Lower Leaves:
– Remove the lower leaves on each cutting, leaving only a few leaves at the top.
4. Optional: Rooting Hormone:
– Dip the cut end of each parsley cutting into rooting hormone if you have it. This step can help encourage the development of roots.
5. Planting Cuttings:
– Plant the cuttings in small pots filled with well-draining potting mix. Insert the cut end about an inch into the soil.
6. Watering:
– Water the cuttings thoroughly after planting to settle the soil. Ensure that the soil remains consistently moist but not waterlogged.
7. Creating Humidity (Optional):
– To create a humid environment that can aid in root development, you can cover the pots with a plastic bag or plastic wrap. This makeshift greenhouse can be removed once the cuttings show signs of new growth.
8. Light Conditions:
– Place the pots in a location with indirect sunlight. Avoid exposing them to harsh sunlight initially.
9. Patience:
– Growing parsley from cuttings may take some time, and not all cuttings may successfully root. Be patient and give the process a few weeks.
10. Transplanting:
– Once the cuttings have developed roots and are showing new growth, you can transplant them into larger pots or directly into the garden.
Parsley Pruning and Maintenance
1. Pinching Back:
- Pinch back the outer leaves regularly to encourage branching and prevent the plant from becoming too leggy.
- Use clean scissors or pruning shears to snip the leaves just above a set of lower leaves.
2. Harvesting Leaves:
- Start harvesting parsley leaves when the plants are 6-8 inches tall. Harvest from the outer portions, leaving the center leaves to encourage continuous growth.
3. Avoid Flowering:
- Trim off flowering stems promptly to prolong the harvesting period. Flowering can signal the end of the plant’s life cycle.
Dealing with Pests and Diseases
Parsley is generally resistant to pests and diseases, but it’s essential to keep an eye on potential issues.
1. Aphids and Caterpillars:
- Check the undersides of leaves for aphids or caterpillars. Use insecticidal soap or neem oil for organic control.
2. Leaf Spot and Blight:
- Provide adequate spacing between plants to ensure good airflow.
- Water the plants at the base to avoid moisture on leaves, which can contribute to leaf spot and blight.
Harvesting and Preserving Parsley
1. Harvesting Leaves:
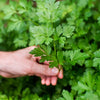
- Harvest parsley leaves regularly, starting from the outer portions and working your way in.
- Use clean scissors or pruning shears to snip the leaves, leaving some stems to encourage regrowth.
2. Drying Parsley:
- Air dry parsley leaves by hanging bundles upside down in a dark, well-ventilated area for 1-2 weeks.
- Alternatively, use a food dehydrator or an oven set to low temperature for quicker drying.
3. Freezing Parsley:
- Wash and dry parsley leaves, then chop or leave them whole.
- Place the leaves in an airtight container or freezer bag, removing as much air as possible.
Conclusion
Growing parsley at home is a rewarding experience that allows you to enjoy the fresh, vibrant flavours of this versatile herb. Whether you choose curly leaf or flat-leaf parsley, following these guidelines will help you cultivate a healthy and abundant parsley plant. From selecting the right variety to dealing with potential pests and diseases, this comprehensive guide equips you with the knowledge needed to become a successful parsley cultivator. So, embark on your journey to grow and savour the delights of homegrown parsley.
