Introduction
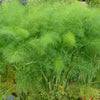
Dill, with its feathery foliage and distinct flavour, is a delightful herb that adds a burst of freshness to various culinary dishes. Whether you’re an experienced gardener or a novice with a passion for homegrown herbs, cultivating dill is a rewarding and straightforward endeavour. In this comprehensive guide, we’ll walk you through the step-by-step process of growing dill, from choosing the right variety to harvesting and preserving your fragrant harvest.
Selecting the Right Dill Variety
Dill comes in different varieties, each with its unique characteristics. Here are some popular ones to consider:
Fernleaf Dill (Anethum graveolens ‘Fernleaf’): A compact variety, perfect for small spaces or container gardening. It produces flavourful leaves and seeds.
Bouquet Dill (Anethum graveolens ‘Bouquet’): A common choice for both culinary and ornamental purposes. It has larger seed heads and is known for its strong flavour.
Dukat Dill (Anethum graveolens ‘Dukat’): This variety is appreciated for its aromatic and sweet flavour. It’s often used in pickling.
Mammoth Dill (Anethum graveolens ‘Mammoth’): Known for its large size, this variety is ideal for those who want an abundant supply of both leaves and seeds.
Planting Dill: Seeds vs. Seedlings
Growing from Seeds:
- Timing:
Plant dill seeds directly into the garden or containers once the soil has warmed in the spring, after the last frost date.
- Sowing Depth:
Sow the seeds about 1/4 inch deep in well-draining soil. Dill seeds require sunlight to germinate, so avoid planting them too deeply.
- Spacing:
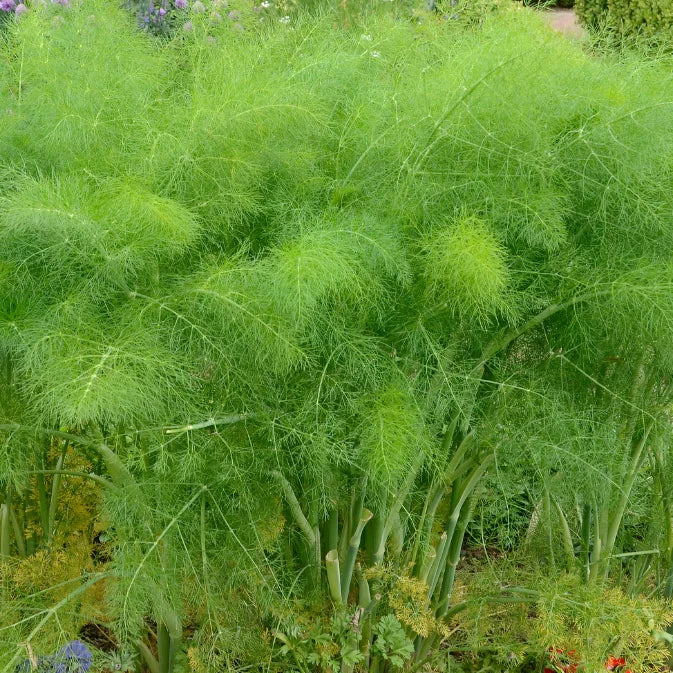
Space the seeds or thin seedlings to 30 – 40 cm apart. Dill plants can reach a height of 60 – 120 cm, so providing ample space ensures good airflow.
Growing from Seedlings:
- Nursery Purchase:
Alternatively, you can purchase young dill plants from a local nursery or garden center.
- Transplanting:
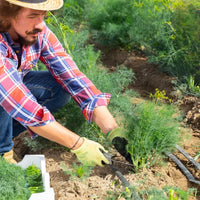
Transplant seedlings into the garden or larger containers, ensuring they are at the same depth as they were in their nursery containers.
Ideal Conditions for Growing Dill:
Creating the right environment is crucial for successful dill cultivation.
Sunlight:
Dill thrives in full sunlight. Plant it in a location that receives at least 6-8 hours of direct sunlight daily.
Soil:
Use well-draining soil with a slightly acidic to neutral pH. Dill is adaptable and can grow in various soil types but prefers loamy soil.
Watering:
Keep the soil consistently moist but not waterlogged. Water the plants when the top inch of soil feels dry.
Dill Pruning and Maintenance
Regular pruning ensures a healthy and productive dill plant.
- Pinching Back: Pinch back the growing tips when the plants reach 30 cm in height. This encourages branching and prevents the plant from becoming too leggy.
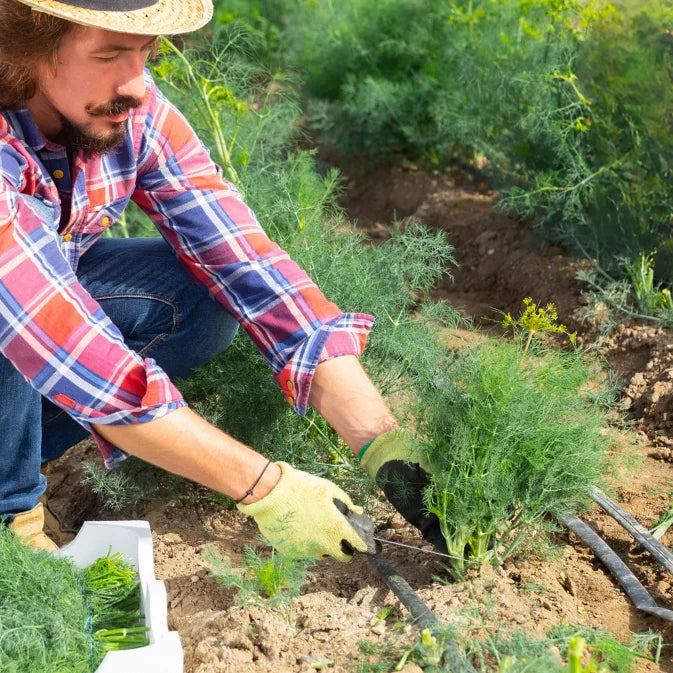
- Harvesting Leaves: Begin harvesting dill leaves when the plants are about 20 cm tall. Use clean scissors or pruning shears to snip the leaves just above a set of lower leaves.
- Seed Harvest: Allow some plants to flower and produce seeds if you wish to harvest dill seeds. The seed heads can be collected once they turn brown and dry.
Dealing with Pests and Diseases when Growing Dill
Dill is generally resistant to pests and diseases, but keeping an eye out for potential issues is essential.
Aphids and Caterpillars:
- Check the undersides of leaves for aphids or caterpillars.
- Use insecticidal soap for organic control.
Powdery Mildew:
- Provide adequate spacing between plants to ensure good airflow.
- Avoid overhead watering, as moisture on leaves can contribute to powdery mildew.
- Apply a fungicide if necessary.
Harvesting & Preserving Dill
1. Harvesting Leaves:
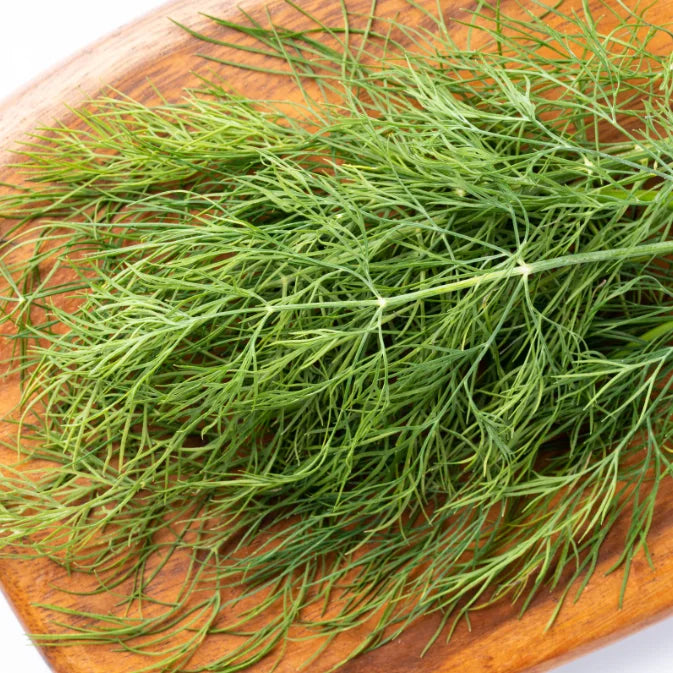
- Harvest dill leaves regularly, especially before the plant starts to flower heavily.
- Cut the leaves in the morning for the best flavour.
2. Harvesting Seeds:
- Allow some plants to produce seeds. Harvest the seed heads when they turn brown and dry. Place a bag over the seed heads and cut them off to catch the seeds.
3. Drying Dill:
- Air dry dill leaves by hanging bundles upside down in a dark, well-ventilated area for 1-2 weeks.
- Dill seeds can be dried by placing them on a clean, dry surface in a dark and well-ventilated area.
4. Freezing Dill:
- Wash and dry dill leaves, then chop or leave them whole.
- Place the leaves in an airtight container or freezer bag, removing as much air as possible.
Conclusion
Growing dill at home is a delightful experience that rewards you with a constant supply of this aromatic herb. Whether you’re using it fresh in salads, pickles, or as a garnish, or preserving it for future use, following these guidelines will help you cultivate a flourishing dill plant. From selecting the right variety to dealing with pests and diseases, this comprehensive guide equips you with the knowledge needed to become a successful dill cultivator. So, embark on your journey to grow and enjoy the fresh, vibrant flavours of homegrown dill in your culinary adventures.
If you'd like to explore more guides like this, check out our blog.


